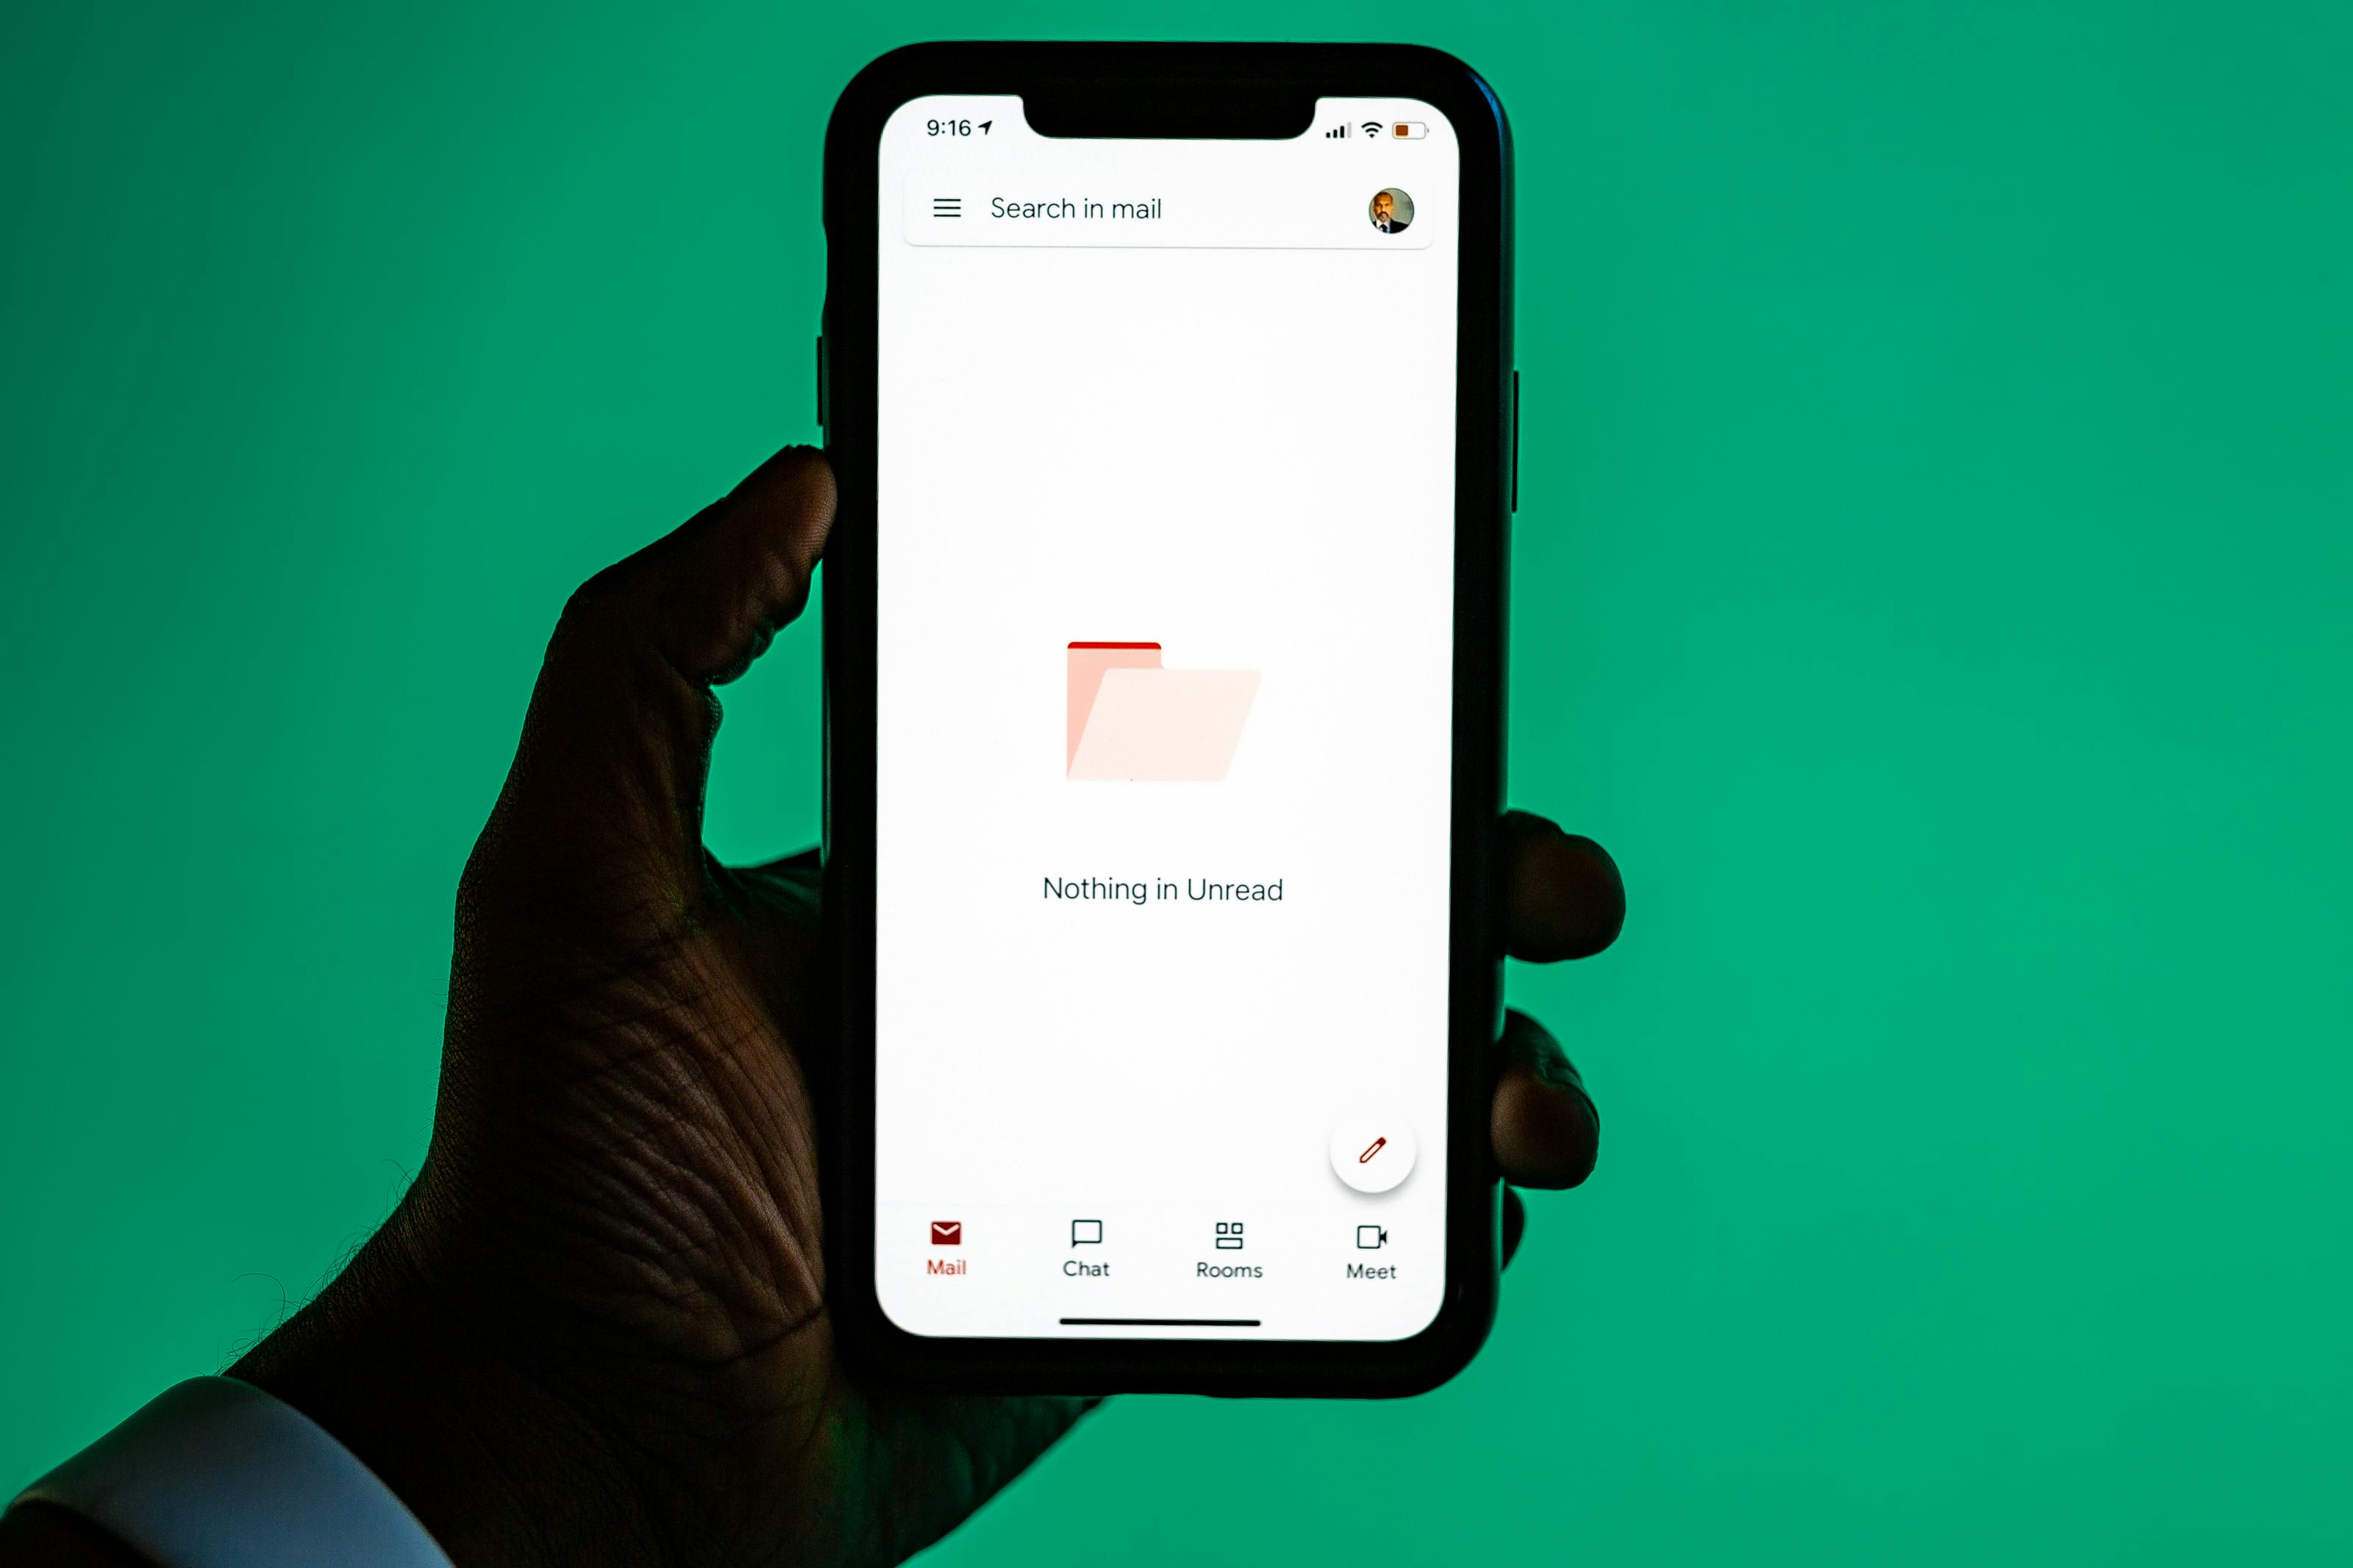
My primary inbox. It used to be a war zone. Every sign-up, every forgotten subscription, every fleeting interest on Reddit or Twitter/X seemed to deposit its digital detritus directly into my Gmail. I’d spend minutes, sometimes hours, sifting through newsletters I never read, promotional offers I’d never use, and the occasional, inevitable spam. It was exhausting. Then I discovered the power of temporary email, specifically services that offer something akin to "instant Gmail" or "10 minute mail."
The "Junk Drawer" for Your Digital Life
Think of a temporary email address as a disposable junk drawer for your online activities. You need to sign up for a one-off service? A forum that requires registration? A download that’s gated behind an email capture? Instead of giving out your precious primary address, you generate a temporary one. These services provide you with an email address that’s active for a short period – often 10 minutes, but sometimes longer. You can receive emails there, confirm sign-ups, and then… poof. It’s gone.
This isn’t about hiding or being some digital phantom. It’s about strategic filtering. My goal isn't just to avoid spam; it's to keep my main inbox a clean, organized space for important communications from friends, family, and work.
How to Implement the "10-Minute Mail" Filter
Here’s the practical workflow that transformed my inbox:
1. Identify the Disposable Need: Before you enter your email on any new website, ask yourself: "Will I need this email address long-term?" If the answer is no, it's a prime candidate for a temporary address. This includes:
* Signing up for free trials.
* Accessing gated content (e.g., whitepapers, webinars).
* Registering for forums or communities you might only visit once.
* Participating in quick polls or surveys.
* Getting a one-time discount code.
* Signing up for a free app that you’re just trying out.
2. Grab a Temporary Address: Head to a reputable temporary email service. Most offer an "instant" option where you get an address immediately, no registration required. Some might offer a slight variation, like a "10 minute mail" option that explicitly sets a timer. You’ll be given a unique email address.
3. Use It for Sign-Ups: Enter this temporary address on the website. You might need to check the temporary inbox for a confirmation link. These services usually display incoming emails directly in your browser window. Once you’ve confirmed and accessed what you needed, you’re done with that address.
4. The "Gmail Alias" Alternative (for slightly longer needs): For services where you *might* need to receive emails for a few days or weeks, but still want to avoid clutter, consider using a "Gmail alias" or similar feature on platforms like Outlook or Yahoo Mail. This involves adding a plus sign (+) and a descriptor to your main email address. For example, if your email is `[email protected]`, you can use `[email protected]` or `[email protected]`. Emails sent to these aliased addresses will still arrive in your primary inbox, but you can set up filters to automatically sort or delete them. This is less about true disposability and more about organizational segmentation within your main account.
5. Let the Temporary Address Expire: The beauty of temporary services is that they self-destruct. After the allotted time (10 minutes, an hour, whatever the service provides), the address and any emails it received are gone. No lingering records, no future spam.
This isn't about avoiding communication; it's about managing the *flow* of digital information. My primary inbox now feels like a curated collection of important messages, not a dumping ground for every online interaction. It’s a simple, effective way to reclaim your digital headspace.Temporary mail inbox interface example - Protect your real email address